


Residential siding options include vinyl (budget-friendly) and fiber cement (durable). Material selection should consider weather conditions and home style. DIY installation requires proper tools, planning, and measurements for a professional finish. Professional services offer expert craftsmanship, warranties, and security for complex jobs.
When it comes to transforming your home’s exterior, choosing between DIY residential siding installation or hiring professionals is a significant decision. This guide aims to equip homeowners with knowledge about various residential siding types and materials, offering a comprehensive step-by-step DIY process, and highlighting the benefits and considerations of professional installation. Whether you plan to tackle the project yourself or hire experts, understanding these aspects ensures a successful, long-lasting siding job.
- Understanding Residential Siding Types and Materials
- Step-by-Step DIY Siding Installation Process
- Professional Siding Installation: Benefits and Considerations
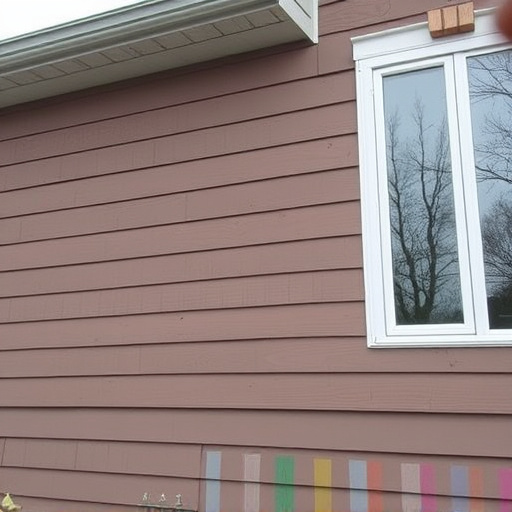
Understanding Residential Siding Types and Materials
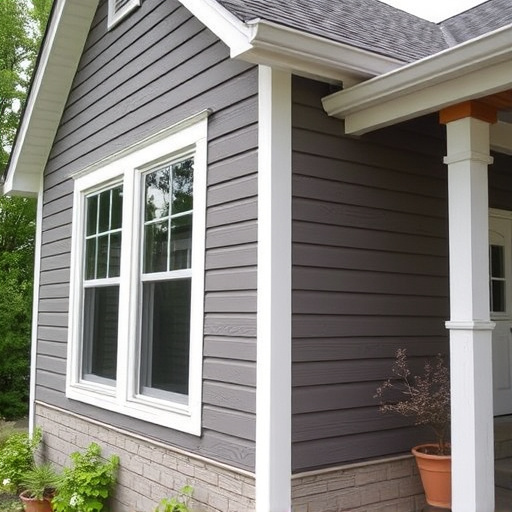
Residential siding comes in various types and materials, each with its unique aesthetics, durability, and maintenance requirements. The most common options include vinyl, fiber cement, wood, aluminum, and stucco. Vinyl siding is popular for its low cost, ease of installation, and minimal maintenance needs, making it an excellent choice for DIYers. Fiber cement offers a more natural look and superior durability against harsh weather conditions, but it requires specialized tools and expertise for proper installation.
When considering residential siding options, it’s crucial to factor in factors like climate, budget, and home style. For instance, areas prone to storms or extreme temperatures might benefit from sturdier materials like fiber cement or vinyl with a thick backing. If you’re dealing with storm damage repair or contemplating a roof replacement alongside siding work, consulting professional siding services can be invaluable. They possess the expertise and tools necessary for ensuring both jobs are done meticulously and safely.
Step-by-Step DIY Siding Installation Process
Installing residential siding yourself can be a rewarding project, saving you money and offering the satisfaction of completing a home improvement task. Before beginning, gather all necessary materials and tools, including exterior grade siding panels, nails or screws, a hammer or power drill, a measuring tape, and safety gear. Start by preparing the surface, ensuring it’s clean, dry, and free from debris. Create a detailed layout plan to visualize how the siding will fit around corners, windows, and doors. Cut the siding panels to size using a circular saw or utility knife, being careful to follow manufacturer guidelines for proper cuts.
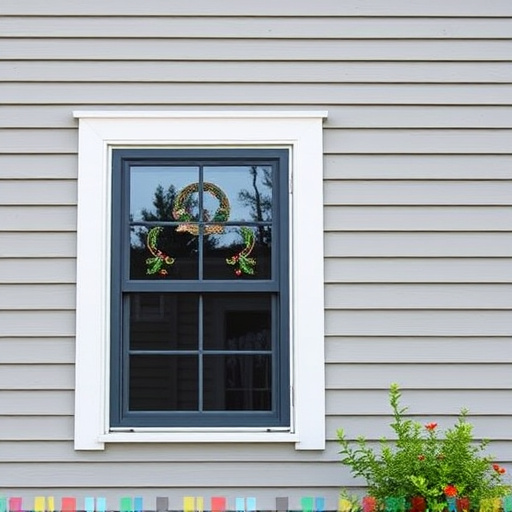
Next, install a starter strip along the bottom edge of the wall to ensure even spacing between courses. Secure each panel into place using nails or screws, maintaining uniform gaps as you go. Overlap each new course by 2-3 inches and seal joints with appropriate siding tape or caulk. For corners and around windows, use specialized corner pieces and trim to maintain a seamless finish. Remember, proper measurements and precise cuts are key to achieving a professional look. Consider seeking guidance from roofing services for complex installations or siding replacement projects to ensure the best results.
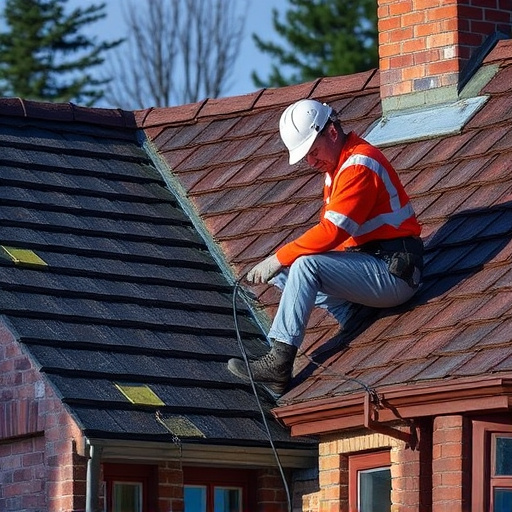
Professional Siding Installation: Benefits and Considerations
Professional residential siding installation offers numerous benefits that DIY projects often can’t match. First, professionals bring expertise and experience to the table, ensuring your siding is installed correctly from the get-go. This prevents costly mistakes and premature wear and tear on your new siding. Commercial siding installations also come with warranties backed by the manufacturers, providing peace of mind and protection against future repairs or replacements.
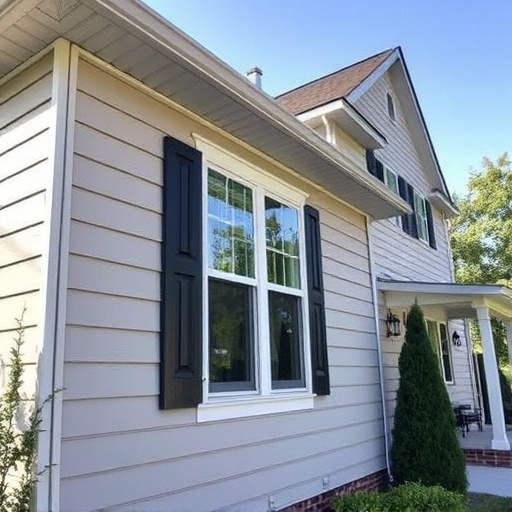
Moreover, professional installers can handle complex jobs, such as siding around windows, doors, and corners, where precise measurements and specialized tools are required. They’re also equipped to navigate unexpected challenges like faulty underlayment or damaged sheathing during roof repair, ensuring your residential siding is secure and durable for years to come.
When deciding between DIY and professional residential siding installation, understanding your project’s scope and skills is key. While DIY can offer cost savings and flexibility, professional services ensure superior craftsmanship, faster completion times, and long-lasting results. Comparing materials, considering local building codes, and assessing your comfort level with tools are essential steps before beginning any project. Ultimately, choosing the right approach for your residential siding needs will contribute to a beautiful, durable exterior for years to come.