


Assessing residential siding project scope, including property measurements, material choices, permits, and work complexity, determines duration. Preparation involves measuring, removing existing siding, surface prep, drainage, and ventilation. Installation requires precise cutting, securing panels, sealing gaps, and optimal gutter placement for water drainage. Final touches include hardware security, sealing, cleanup, client inspection, and discussing future roofing needs like commercial services.
Residential siding installation is a significant home improvement project that can greatly impact your property’s curb appeal and protection. This article breaks down the process from start to finish, providing a comprehensive guide on how long it typically takes. We’ll explore the initial assessment of your project scope, the detailed installation process, and the final stages, including clean-up and quality checks. Get ready for a step-by-step journey through residential siding, offering valuable insights for homeowners considering this transformation.
- Assessing the Project Scope and Preparation Time
- Actual Installation Process: Step-by-Step Breakdown
- Final Touches, Clean Up, and Post-Installation Checks
Assessing the Project Scope and Preparation Time

Assessing the scope of a residential siding installation project is the first step in determining its duration. This involves several crucial tasks, such as evaluating the size and condition of the property, identifying the type and quantity of materials required, and considering any necessary permits or approvals. The complexity of the work also plays a significant role; for instance, a straightforward replacement with standard materials might take less time than a complex renovation involving multiple types of siding and intricate designs.
Preparation is key to ensuring a smooth installation process. This preparation phase includes measuring and marking the areas to be sided, removing existing siding (if applicable), preparing the surface for new materials, and ensuring proper drainage and ventilation. The time required for these tasks varies based on the size of the project and the need for additional exterior home improvements like roofing services or commercial siding installations.
Actual Installation Process: Step-by-Step Breakdown

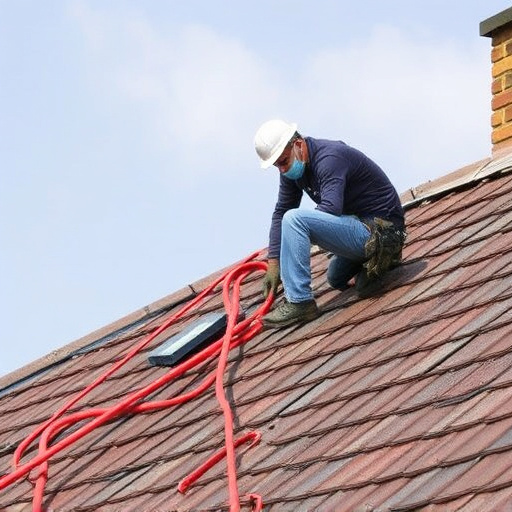
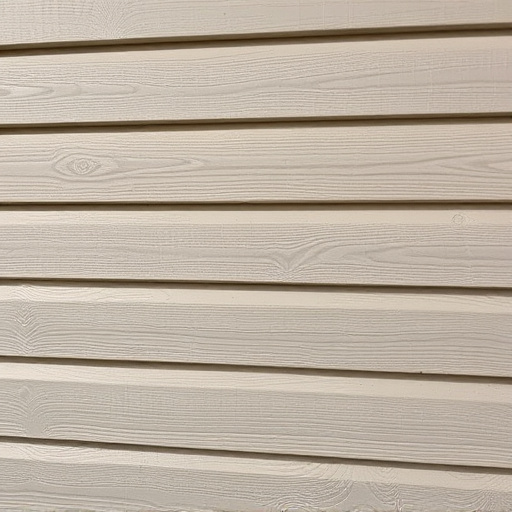
The actual installation process for residential siding involves several meticulous steps. It begins with preparing the surface, ensuring it’s clean, dry, and free from any debris or existing siding fragments. Homeowners or contractors then measure and mark the areas to be sided, creating a precise layout. The next step is cutting and fitting the first course of siding, often starting at the bottom edge for a neat finish. This involves measuring, marking, and cutting the panels to size, before securing them with nails or screws, ensuring each piece is level and secure.
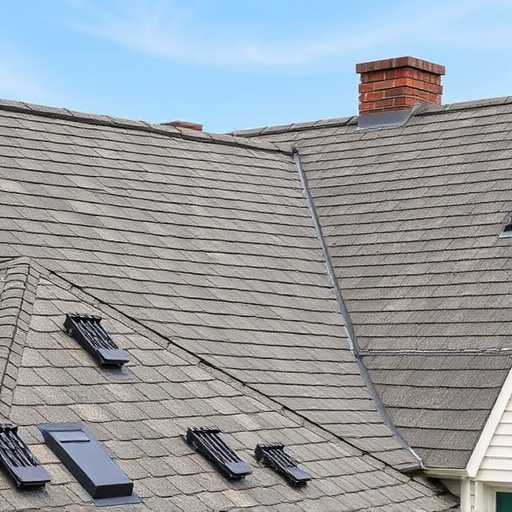
Once the initial layer is in place, subsequent courses are installed, working upwards towards the roofline. Gaps between panels must be filled with sealing tape or caulk for a weatherproof seal. Throughout this process, siding and gutters play a crucial role in directing water away from the home’s foundation, ensuring longevity. A roof consulting service can help determine the best angle for gutter placement to optimize drainage, enhancing home service solutions overall.
Final Touches, Clean Up, and Post-Installation Checks

After the residential siding installation is complete, the final touches come into play. This involves meticulous work to ensure every detail aligns with the client’s expectations. It includes securing all hardware, ensuring proper sealing, and making any necessary adjustments for a seamless finish. The instalers will also conduct a thorough inspection, checking each section of the new siding for any defects or issues that may have gone unnoticed during the initial installation process.
Once the essential checks are done, the focus shifts to cleanup. The work area is meticulously cleaned to remove any debris, scrap materials, and tools left behind. This not only leaves the property neat and presentable but also ensures a safe environment for residents post-installation. Additionally, a final walk-through with the client can be conducted to obtain their feedback and address any concerns or modifications required before considering the project complete. This last step guarantees satisfaction and provides an opportunity to discuss any future roofing solutions or commercial roofing services they may require.
Residential siding installation is a complex process that involves careful assessment, precise execution, and meticulous cleanup. Depending on the project scope, preparation can take anywhere from a few days to a week. The actual installation typically progresses swiftly, with professional crews completing it in 7-14 days for an average home. After the installation, final touches, clean up, and post-installation checks ensure your residential siding not only looks stunning but also provides long-lasting protection for your home.